Donors
Dr. Deborah A. Abowitz ’77
Jeffrey Alexis and Christine Hay
Mr. Laurent Alpert and Ms. Johanna Fend Alpert ’64
James ’74 and Cecilia Alsina
Mr. and Mrs. Chad Anderson
Ms. Emily Andrews ’10
Ms. Sarah Andrews ’12
Anonymous (7)
Ms. Beth Bailey and Ms. Melissa McHenry
Ms. Christine Baker
Bank of America Charitable Gift Fund
Jim and Carol Barclay
Mr. Chris Becker
Mr. and Mrs. Frederick Beer
Dr. Eric L. Bell
Charlene Berry
Dr. and Mrs. Heath Boice-Pardee
Mr. and Mrs. Matthew Bowley
Mr. Christopher Brand
Ms. Whitney Brice
Mr. and Mrs. Jerry Briggs
Mr. and Mrs. Stephen Briggs
Ms. Valerie R. Bronte ’99
Mr. Ryan Brush and Mrs. Melissa Fujimoto-Brooks
Paul J. Burgo ’97
Ms. Susan Bush and Dr. Marianne Taylor
Ms. Patricia Butler
Mr. Seth Button ’97
Martha Cameron ’81
Ms. Sarah E. Chambers
Drs. Mitchell A. Chess and Patricia R. Chess
Kerry C. Cho ’88
Mr. James Chung ’89
Mr. John Clark and Dr. Nancy Shafer-Clark
Patricia Corcoran
Mr. Samuel Crabb and Dr. Glynis Scott
Mr. and Mrs. Arthur J. Dagen ’51
Mr and Mrs. William Dalton
John D’Amanda ’75 and Kathy Durfee D’Amanda ’76
Ms. MaryLynn Dandrea and Mr. Stephen Kupferschmid
Stewart D. Davis
The DeNatale Family
Sarah Dengler ’75
Beth DeWeese ’75
Mr. and Mrs. Trevor DiMarco
Mr. Michael Discenza and Dr. Jacque Trama-Discenza
Dr. Gregory Dobson
Dr. Zhiyao Duan and Ms. Yunping Shao
Mr. Nathaniel G. Duckles ’04
Robert and Lisa Duerr
Mr. Rashid Duroseau ’05
Jo Eaton and Richard Babin
Ms. Christine Edge
Dr. Charles D. Fallon ’60
Mr. Thomas E. Feldman ’76 and Ms. Andrea J. Michie
Marilyn Fain Fenster
Mr. George Ferguson and Ms. Pia Cseri-Briones
Drs. Paulo Fernandes and Lucelene Lopes
Mr. David Fetterman and Ms. Adrienne McHargue
Ms. Selena Fleming
Mr. Andrew Flinders ’89
Ms. Arline Fonda
Dr. Rich Fonda
Scott Frame ’73 and Katherine Kearns Frame ’73
Drs. Jonathan Friedberg and Laura Calvi
Mr. Lawrence Damrad Frye and Ms. Robin Damrad Frye
James and Marjorie Fulmer
Christopher Gabel ’92
Brian and Julie Gambill
John ’70 and Karen Gardner
Mr. Hugh Germanetti
Mr. Ward J. Ghory and Ms. Anne Ghory-Goodman
Richard and Joyce Gilbert
John L. Goldman ’52
Mr. and Mrs. Lee Goldman ’86
Miss Taixi Gong
Mr. Robert Gray ’92 and Ms. Alison Carling
Anthony L. and Earlene C. Gugino
Gregory and Priscilla Gumina
Mr. and Mrs. Matthew Haldeman
Haldeman Family Foundation
Cynthia Hallenbeck ’75
Ned Hallick ’68
Mr. Gregory Halpern and Ms. Ahndraya Parlato
Mr. and Mrs. Henry NG Hanson ’60
Mr. and Mrs. Chris Hartman
Barbara Hays ’47
Betsy Hecker ’73
Mr. and Mrs. Shaun Heckman
Dr. and Mrs. Wade C. Hedegard
Mr. William Hosley
Chris and Kristy Houston
Drs. Fred M. Howard and Cynthia R. Howard
Mr. Steven R. Jackson ’06
Mr. Jeremy Jamieson and Ms. Karsten Solberg
Dr. Roy Jones
Mr. and Mrs. Robert Joslyn
Ms. Elizabeth Kabes
Ms. Anna Kennedy ’13
Dr. and Mrs. Paul Kennedy
Ms. Anna J. Kieburtz ’06
Paul Kingsley and Kathleen McGrath
Ms. Naomi Kinsler
Robert Kopfman and Sharon Humiston
Dr. Harlan Kosson
Ms. Sonja B. Kreckel
Mrs. Susan Weil Kunz ’52
Ms. Marcia Layton Turner
Dr. Hochang Lee and Mrs. Christine Chung
Ms. Cynthia Lees
Ms. Hillary M. Levitt ’04
Mr. Mark Goldstein and Dr. Dena Levy
Dr. Kenneth Lindahl and Mrs. Kathy Lindahl
Dr. and Mrs. Stuart Loeb
Ms. Victoria A. Lomaglio ’06
Dr. Alan Lorenz and Ms. Nancy Sands
Dr. Frederick S. Cohn and Ms. Janice Loss
Staffan ’66 and Lee Craig Lundback ’66
Maple Ave Dental
Mr. and Mrs. Robert Marcus
Mr. and Mrs. Madhava Marri
Mrs. Kenneth Maxwell
Mr. and Mrs. Matthew McAlpin
Kurt and Lisa McConnell
Mr. and Mrs. David McCoy
Lee S. McDermott (Lee Sherwood Allen ’64)
Mr. and Mrs. Robert F. McGraw, III
Robert McLear ’88 and Claire McLear ’87
Jon and Susan Parkes McNally
Mr. and Mrs. Richard Mendolia
Dr. Mary Gail Mercurio
Mike ’78 and Betsy Merin
Jeannette C. Mitchell
Drs. Scott Mooney and Chin-Lin Ching
John ’81 and Erinne Morse
Mr. and Mrs. Matthew Mortellaro
Mr. Roderick Mortimer
Mr. and Mrs. Gary Muisus
Mr. Marvin Muller, III and Mrs. Jennifer Schwartzott
Mr. Jeffrey Neable and Ms. Laural Hartman
Mr. and Mrs. Steve Neumaier
Drs. Patricia Newcomb and Janet Gillespie
Mr. and Mrs. Franklin Nice
Carl Nielsen and Patricia Corcoran
Robert and Milena Novy-Marx
Mr. John Nugent and Ms. Dawn Thomson
Mr. and Mrs. Peter Obourn
The Oese-Siegel’s
Ms. Mirel Oese-Siegel ’08
Ms. Jean M. Oswald
Drs. Ryan-Jon Palmitesso and Alisa Kim
Mrs. Julie Walker Parker ’79
Walter Parkes
Ms. Sandra E. Patla
Mrs. Julia Messenger Pearsall ’80
Mr. and Mrs. Michael Pinch
Terry Platt and Dianne Edgar
Mr. and Mrs. Steven Plonsky
Mr. Douglas Pratt
Mr. and Mrs. David Publow
Mr. Paul Raca and Ms. Nancy Raca
Mr. Gabriel Racz ’90 and Ms. Melanie Walker
Drs. Amit Ray and Jessica Lieberman
James and Nancy Rinehart
Mr. Tim Robinson and Mrs. Page Durant Robinson ’01
Rochester Area Community Foundation
Neal Roden
Mr. and Mrs. Todd Rogers
Mr. and Mrs. David Rutberg
Jane Liesveld and Deepak Sahasrabudhe
Ms. Karen Saludo and Mr. Dennis Drew
Miss Izabella Sander
Mr. and Mrs. Benjamin Sander
Sarphatie Educaton
Drs. Edward Sassaman and Michelle Shayne
Alicia Morgenberger Schober ’85
Dave and Nancy Schraver
Dr. and Mrs. Steven Schulz
Schwab Charitable Fund
Ms. Samantha R. Scott ’15
Mr. Russell Scott and Dr. Christine Scott
Mr. Amos Scully and Ms. Stephanie Ashenfelder
Chip and Marit Sheffield
Laurie Sherwood ’69
Mr. Shashi Sinha and Dr. Corinna Schlombs
The Sisson Family
Mrs. Margaret Smerbeck
Jackie Smith
Dr. Regina Smolyak
Mr. Niko Smrekar and Ms. Cara Cardinale
Alan and Helen Soanes
Drs. Alexander Solky and Valerie Lang
Dr. Hannah Solky
Mr. Paul Sparacino ’72
Mrs. Suzy Spencer
Dr. Eric Spitzer
Ms. Virginia Smythe Spofford ’74
Dr. Douglas Stockman and Ms. Marietta Cutrone
Charles Stuard ’82
Mr. and Mrs. Kenneth Sullivan
Brenda Fuhrman Swain ’77
Deb and Mike Szuromi
Rustam Tahir and Vivian Lewis
Andrea Taylor
Tim Tindall and Erica Harper
Michael R. Todd ’64
Ms. Connez Todd ’65
Ted ’98 and Jennifer Townsend
Jim ’61 and Anne Townsend
Ms. Sarah Townsend ’01
Susan Turiano
Marguerite Urban and Linda Spillane
United Way of Greater Rochester
Mrs. Mary Ellen T. Urzetta
Vanguard Charitable Endowment Program
Drs. Anthony Villani and Zsuzsanna Marchl
Mr. and Mrs. Johnny Walker
Mr. and Mrs. Matthew Wallace
Mr. Andrew Washburn and Dr. Elizabeth Santos
Drs. Joseph Wedekind and Clara Kielkopf
Mr. and Mrs. William T. West
Mr. Peter V. Whitbeck ’71
Dr. Julie L. Whitbeck ’81
Bill ’58 and Bobbi Whiting
Mr. and Mrs. Leonard Wilcox
Miss Winifred S. Wilcox-Fox
Helen Wiley and Marian Payson
Mr. Alan Winchester and Dr. Larissa Temple
Mr. and Mrs. Floyd Winslow
Karen Yeoman ’98
Mr. Daniel P. Yeoman ’00 and Ms. Beth Bafford
Ms. Margot Townsend Young ’64
Dr. Xulong Zhang and Mrs. Xiaobei Qiu
Ms. Jianping Zhu
Fati Ziai ’82
Jane Hopfinger and Robert Zogas
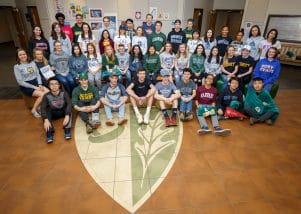 Harley’s Approach to College Counseling
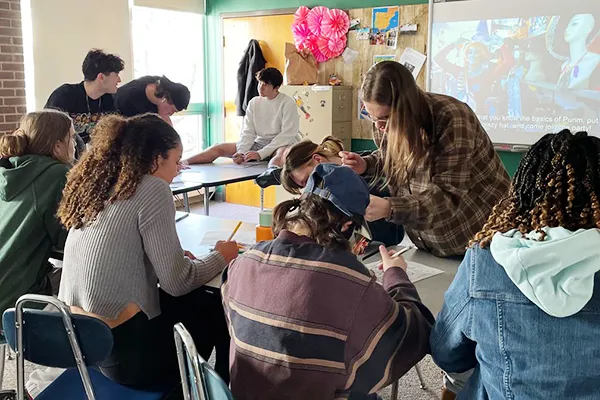 “Club Rush” is an afternoon every fall in the Upper School when students have the chance to sign up for clubs for the year, and each year it is very different because new clubs are created based on student initiative and enthusiasm.
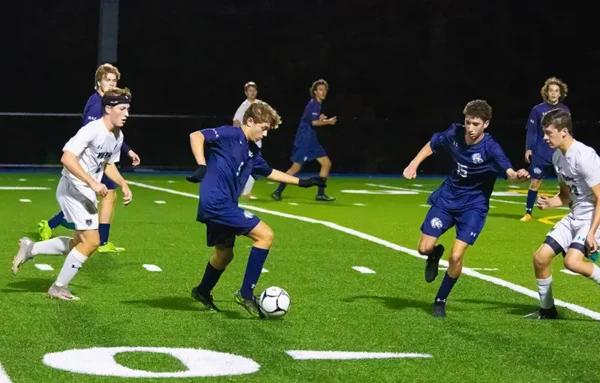 Each and every year, students at The Harley School participate in HAC Athletics, and their success continues to be impressive, both as students and athletes. Our athletic program is an integral part of Harley, teaching student-athletes invaluable lessons about teamwork, time management, persistence, and competition. Our program allows them to develop physically, mentally, socially, and emotionally as they represent their school on and off the field. They grow, mature, and work hard to be the best teammate they can, while creating lifelong memories with teammates who often remain friends for life.
 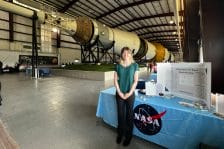 Our Upper School is filled with formal and informal opportunities for students to take on leadership roles. Whether following passions or learning new skills, student-driven opportunities take many shapes.
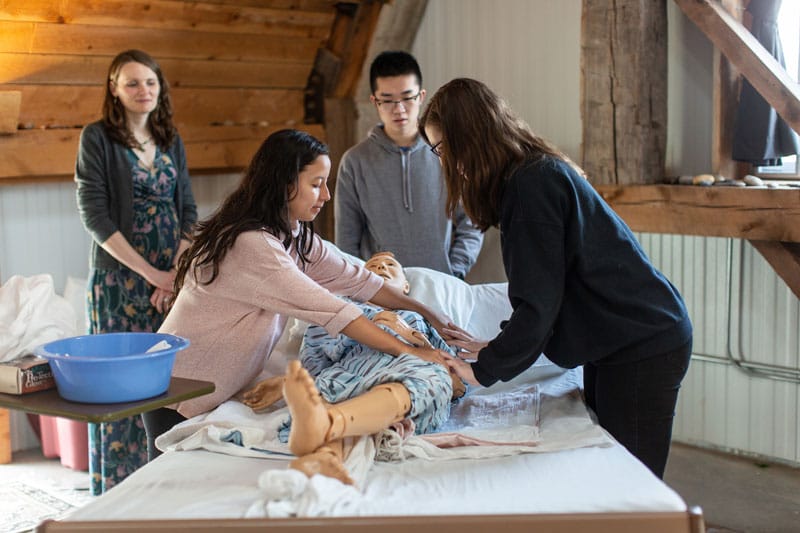 Unlike this class, death is not an elective. Although it is one of two universal human experiences, our culture often ignores, denies, or misconstrues the true nature of death and dying. What happens when we bear witness to this natural process in the cycle of life and develop our ability to be fully present with others when they need us more than ever? It has the potential to change us deeply and fundamentally while shining a brilliant light on the path of our own lives.
 This program utilizes environmentally-focused approaches to education and hands-on learning in order to foster the next generation of leaders through a lens of sustainability and problem-solving.
 At Harley, our students learn how to evaluate social systems in order to identify complex problems in society through a lens of social justice. They take a hands-on approach to working for a fair, equitable society by researching, exploring and evaluating different perspectives, and offering solutions—both theoretical and practical.
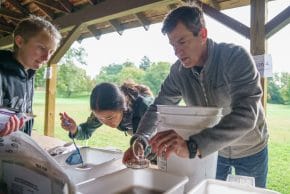 Students may create independent studies with supervising teachers throughout their Upper School experience or, during Grade 12, they can design Capstone projects—intensive collaborations with Harley faculty and off-campus mentors—involving rigorous academic study and culminating in public presentations.

